As a typical gamer, I'd venture into the web to find strategies, tips and tricks for getting the most out of my gaming experience. I did come across several notable ones that provided a handful of good suggestions. But I realised that I can just as well document my findings regardless.
This is my list of observations:
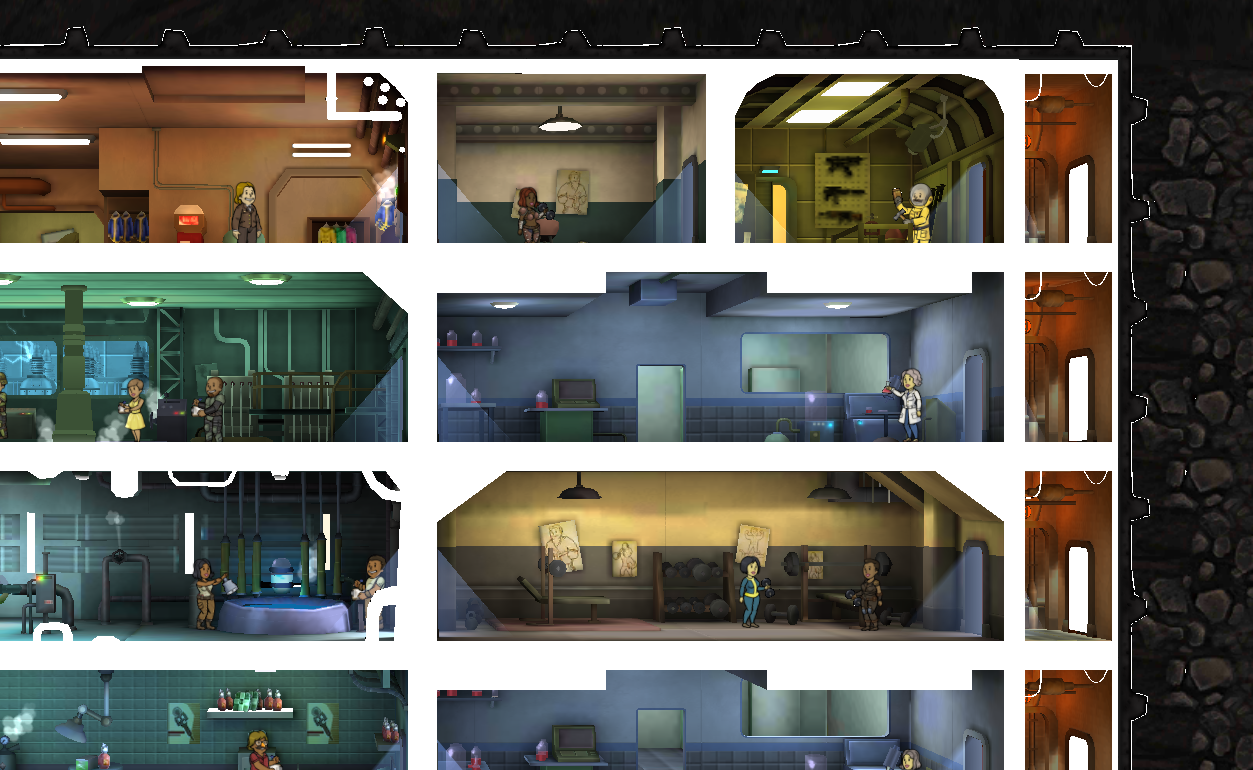
Layout
- Assign all weapons to dwellers, keeping one powerful rifle in storage when possible; in case of random infestations in rooms with unarmed dwellers.
- Training rooms are sufficient in singles; it is possible thus to fit them in pairs on the right side of the map.
- Med Bays and Science Labs correlates to storage of Stimpaks and Radaways respectively; if you find yourself running out of space for storing these resources, build extra rooms for them without assigning dwellers to the rooms. These can be stacked with the training rooms.
- Rooms furthest away from Power Stations lose electricity first; build with the intention of sandwiching Power Stations between other resource rooms.
- Rooms touching dirt are where Mole rats strike first, according to this and also a tip from the loading screen; to prevent this, it is possible to build a second column of elevators since there isn't much space for anything else. Dwellers will use whichever elevator that is nearest.


- Zoom in on a training room to see the countdown timer for dwellers to get an increment on the attribute they are training for.

- Training time is exponential across stat increments; unless you are prepared to wait extended hours to max the stat, it is ineffective to train a low-stat dweller.
- If training is interrupted, the timer resumes from where it left off instead of restarting.

- A general guide for "safe" rushing would be for the Incident risk to be below 50%.
- Even if you've maxed out the storage for your resources, it is still possible to rush rooms in order to generate more caps; do this especially when the Incident risk is in the 20-30% range.
- Just before rushing a room, make sure the dwellers are sufficiently weaponised to prepare for infestations.
- If you notice the resource countdown timer reaching soon, wait for it to restart before activating a rush.

- Assign more dwellers to help with larger fires to reduce the time taken in extinguishing the flames.
- Raiders attack starting from the vault door before proceeding downwards in a zigzag pattern. Assign dwellers to "receive" these unwelcome guests, starting from the first living quarters to preempt their next move.
- Support comes faster from dwellers working in adjacent rooms on the same floor.
- Even faster still, would be to reassign weapons from dwellers in other rooms to those that is encountering an incident.
- Send dwellers with high Endurance out into the wasteland; pack them off with 10 or more Stimpacks and Radaways and they will run the night while you sleep.
- It is possible to send a dweller who is totally unequipped into the wasteland. If they survive long enough, they will randomly encounter clothes and weapons along the way. If they are wearing the Vault Suit when they pick up their first piece of clothing, they will automatically wear the garment. If they leave the vault unarmed, they will likewise equip themselves with the first weapon they chance upon.
- The maximum Stimpacks and Radaways you can equip any one dweller is 25 of each. Do so only if you intend to let the dweller roam for extended hours.
- They will automatically equip themselves with gear that they come across, which is better than what you'd sent them out with.

- Babies have their last names randomly picked from either parent; a convenient way of not pairing up families in future would be to name the boys after their mothers, and girls after their fathers.
- Throttle the baby-making to avoid a baby-boom; start with 2 to 3 pregnancies at any one time.
- Don't focus on reproducing couples with high Charisma; if you have a Nightwear, put it on a dweller working in the Radio Studio, and have every male dweller borrow it when needed.
- If you have training rooms already, it isn't as big a deal to pair couples with high attributes. All it takes is another few more hours/days of training to get the new kid up to speed with above-average stats.
Edit: I found this which led me to this amazing spreadsheet!